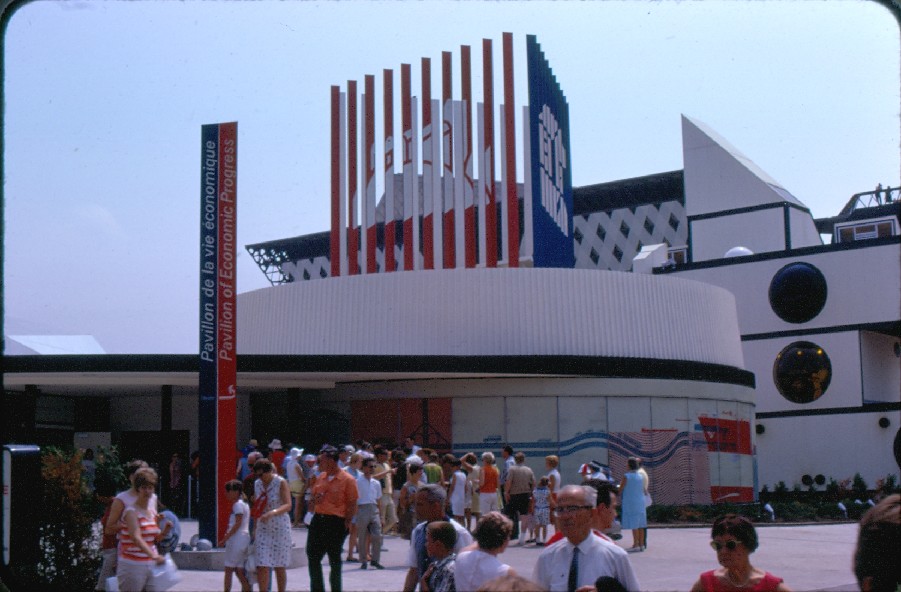
Photo credit: © Ken Patterson. Used with permission with our sincere thanks.
2/2
 2/2
2/2