Photo credit: © The Montréal Gazette; and the National Archives of Australia
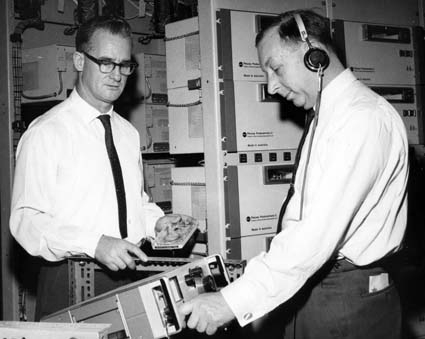
Control room for audio display.
51/53